Updated on GitHub 4 months ago (see history)
How to setup hardened Ubuntu environment on Raspberry Pi
Requirements
The following hardware is required.
- Raspberry Pi 4 (2GB min)
- Raspberry Pi 15W USB-C Power Supply
- Raspberry Pi Micro HDMI to Standard HDMI (A/M) Cable (or equivalent)
- microSD card or USB flash drive (used to install Ubuntu for desktops, 16GB min)
- HDMI display (720p min)
Recommendations
Installing Ubuntu for desktops on datAshur PRO² USB flash drive is recommended to enforce access control, data persistence and tamper resistance hardening.
Bootable installer creation guide
Step 1: install Raspberry Pi Imager
macOS
Go to https://www.raspberrypi.com/software/, download and install Raspberry Pi Imager.
Ubuntu (or other Debian-based OS)
Heads-up: depends on Qt.
Step 2: disable Raspberry Pi Imager telemetry
macOS
Ubuntu (or other Debian-based OS)
Step 3: download Ubuntu for desktops
Heads-up: for additional security, verify Ubuntu for desktops download.
Go to https://ubuntu.com/download/raspberry-pi and download Ubuntu Desktop 22.04.1 LTS.
Step 4: copy Ubuntu for desktops to USB flash drive
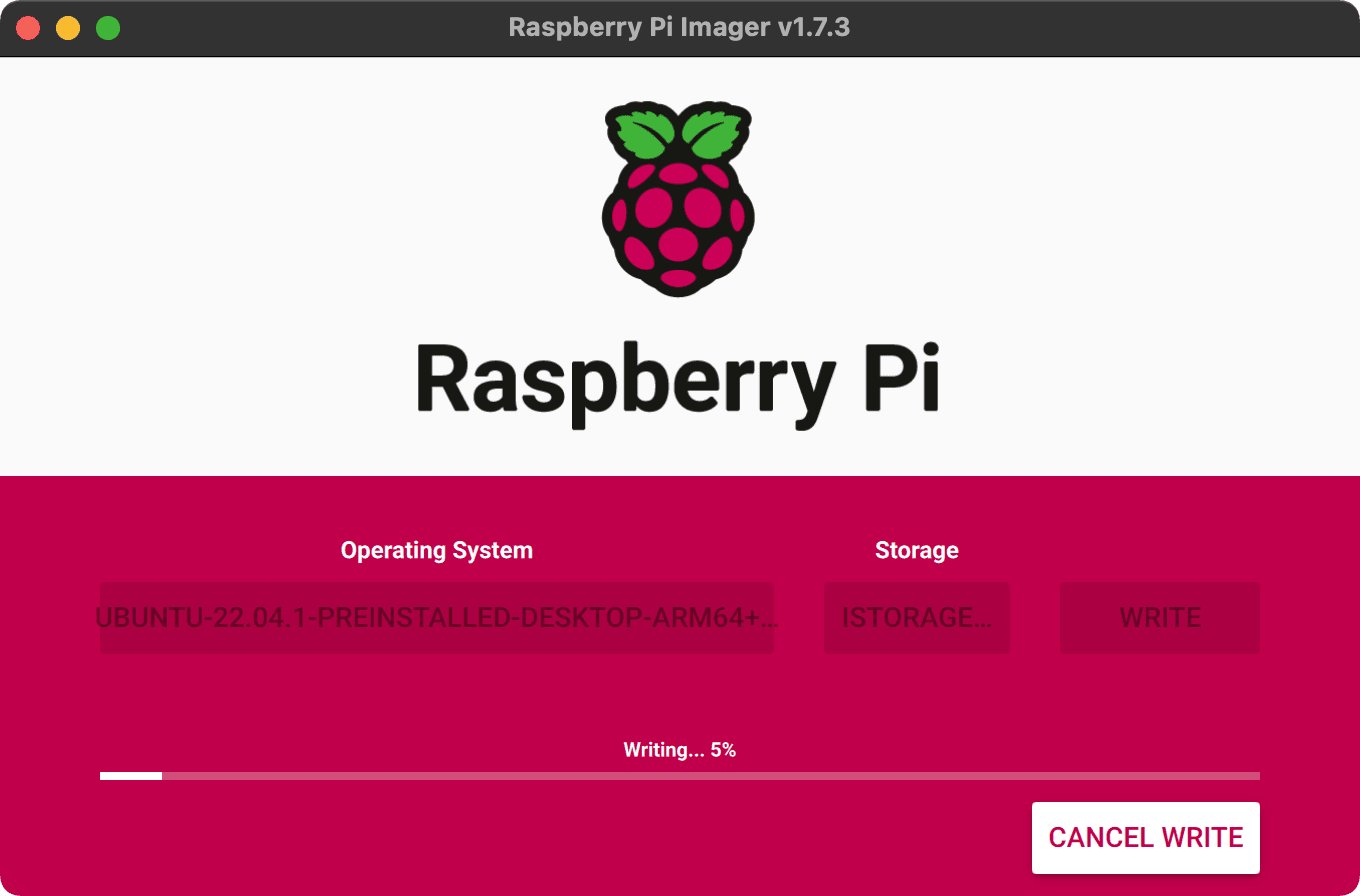
Open “Raspberry Pi Imager”, click “CHOOSE OS”, then “Use custom”, select Ubuntu for desktops .img.xz, click “CHOOSE STORAGE”, select USB flash drive and, finally, click “WRITE”.
👍
Installation guide
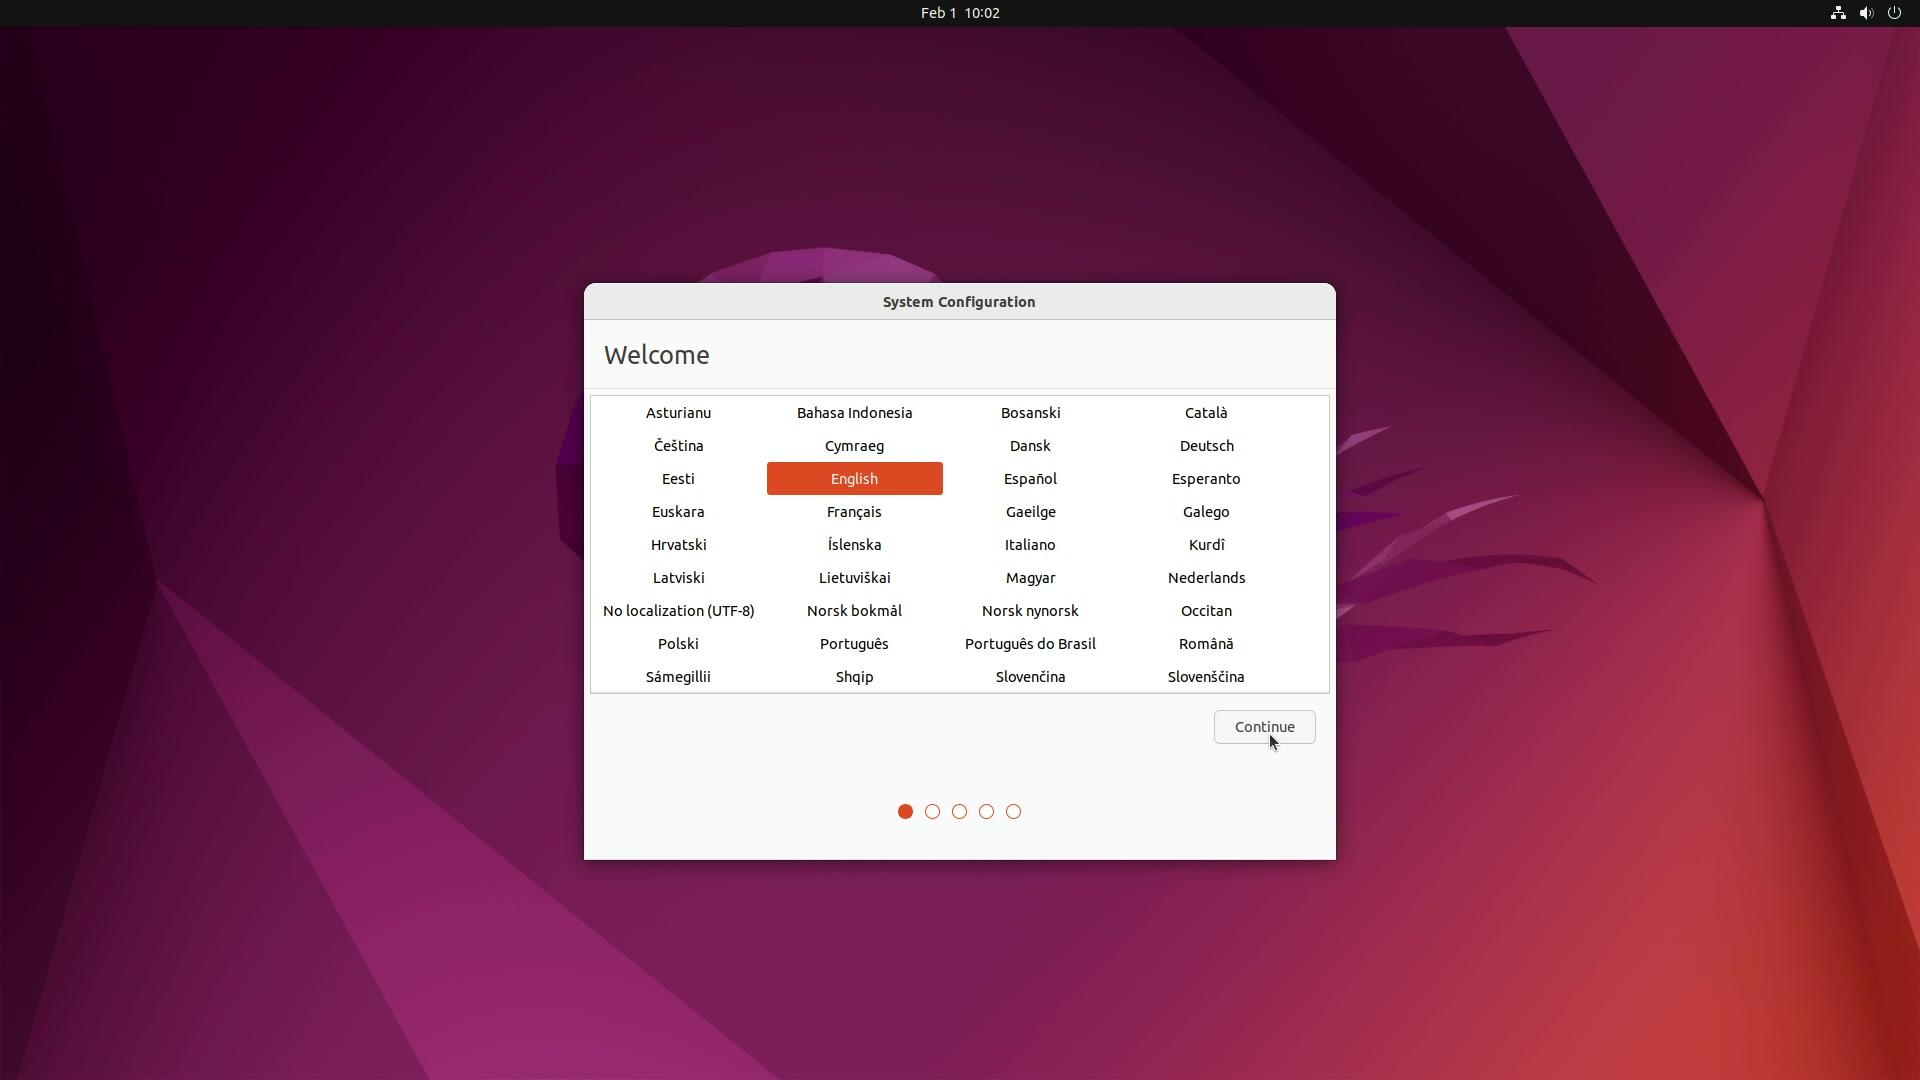
Step 1: choose language and click “Continue”
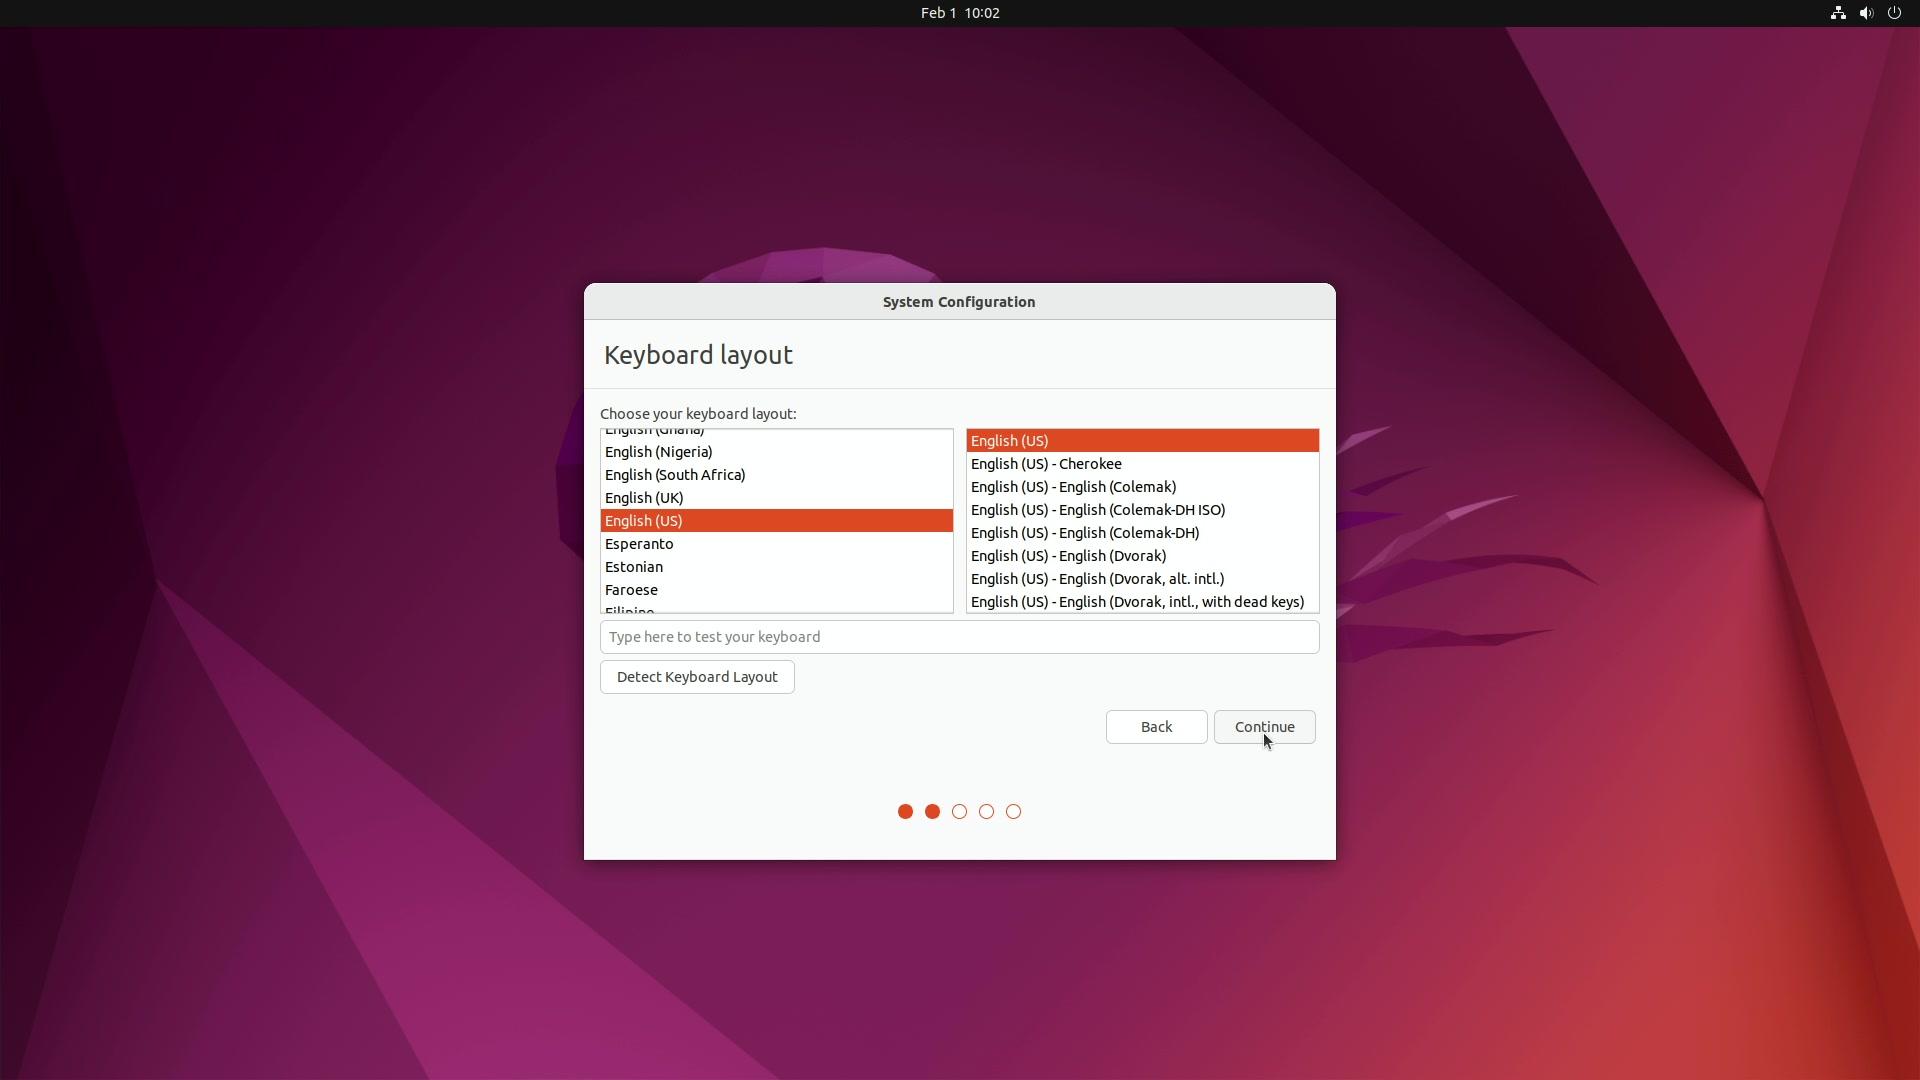
Step 2: choose keyboard layout and click “Continue”
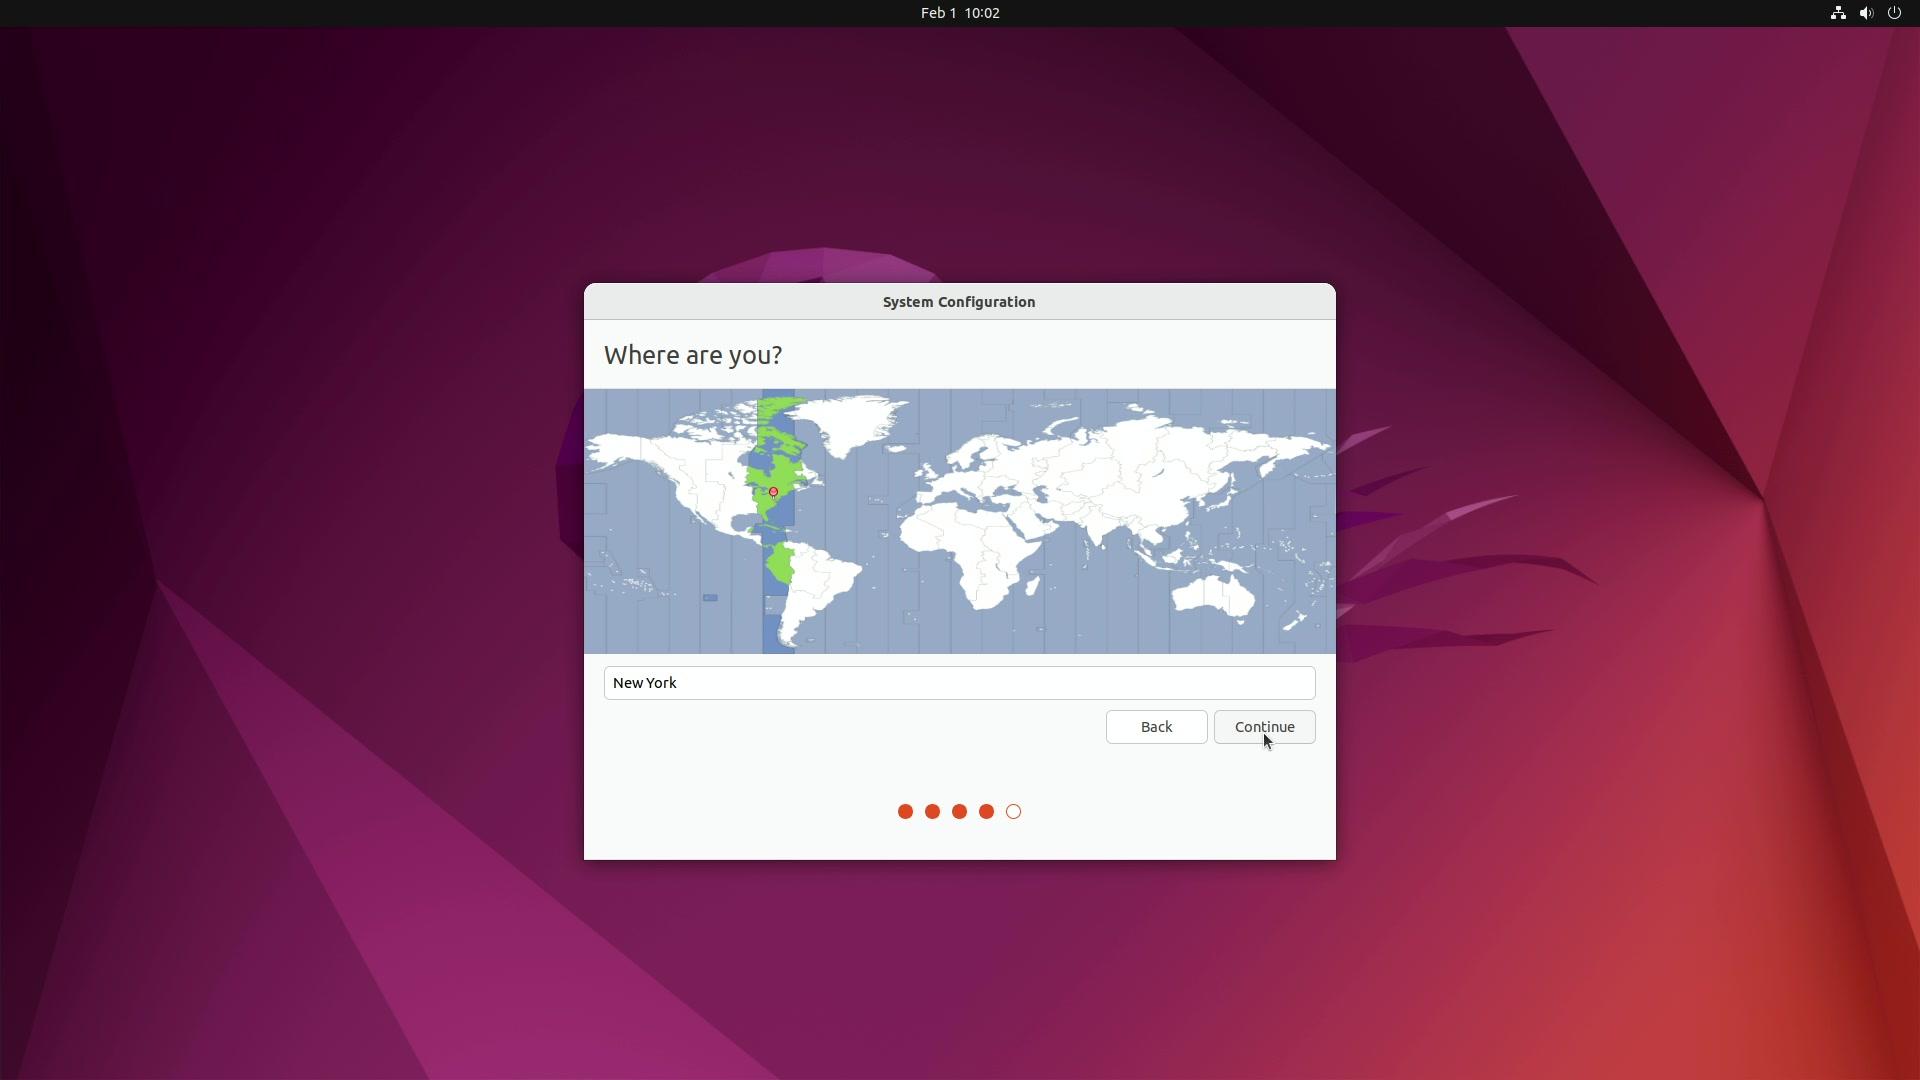
Step 3: choose timezone and click “Continue”
Step 4: choose credentials, select “Log in automatically” (optional) and click “Continue”
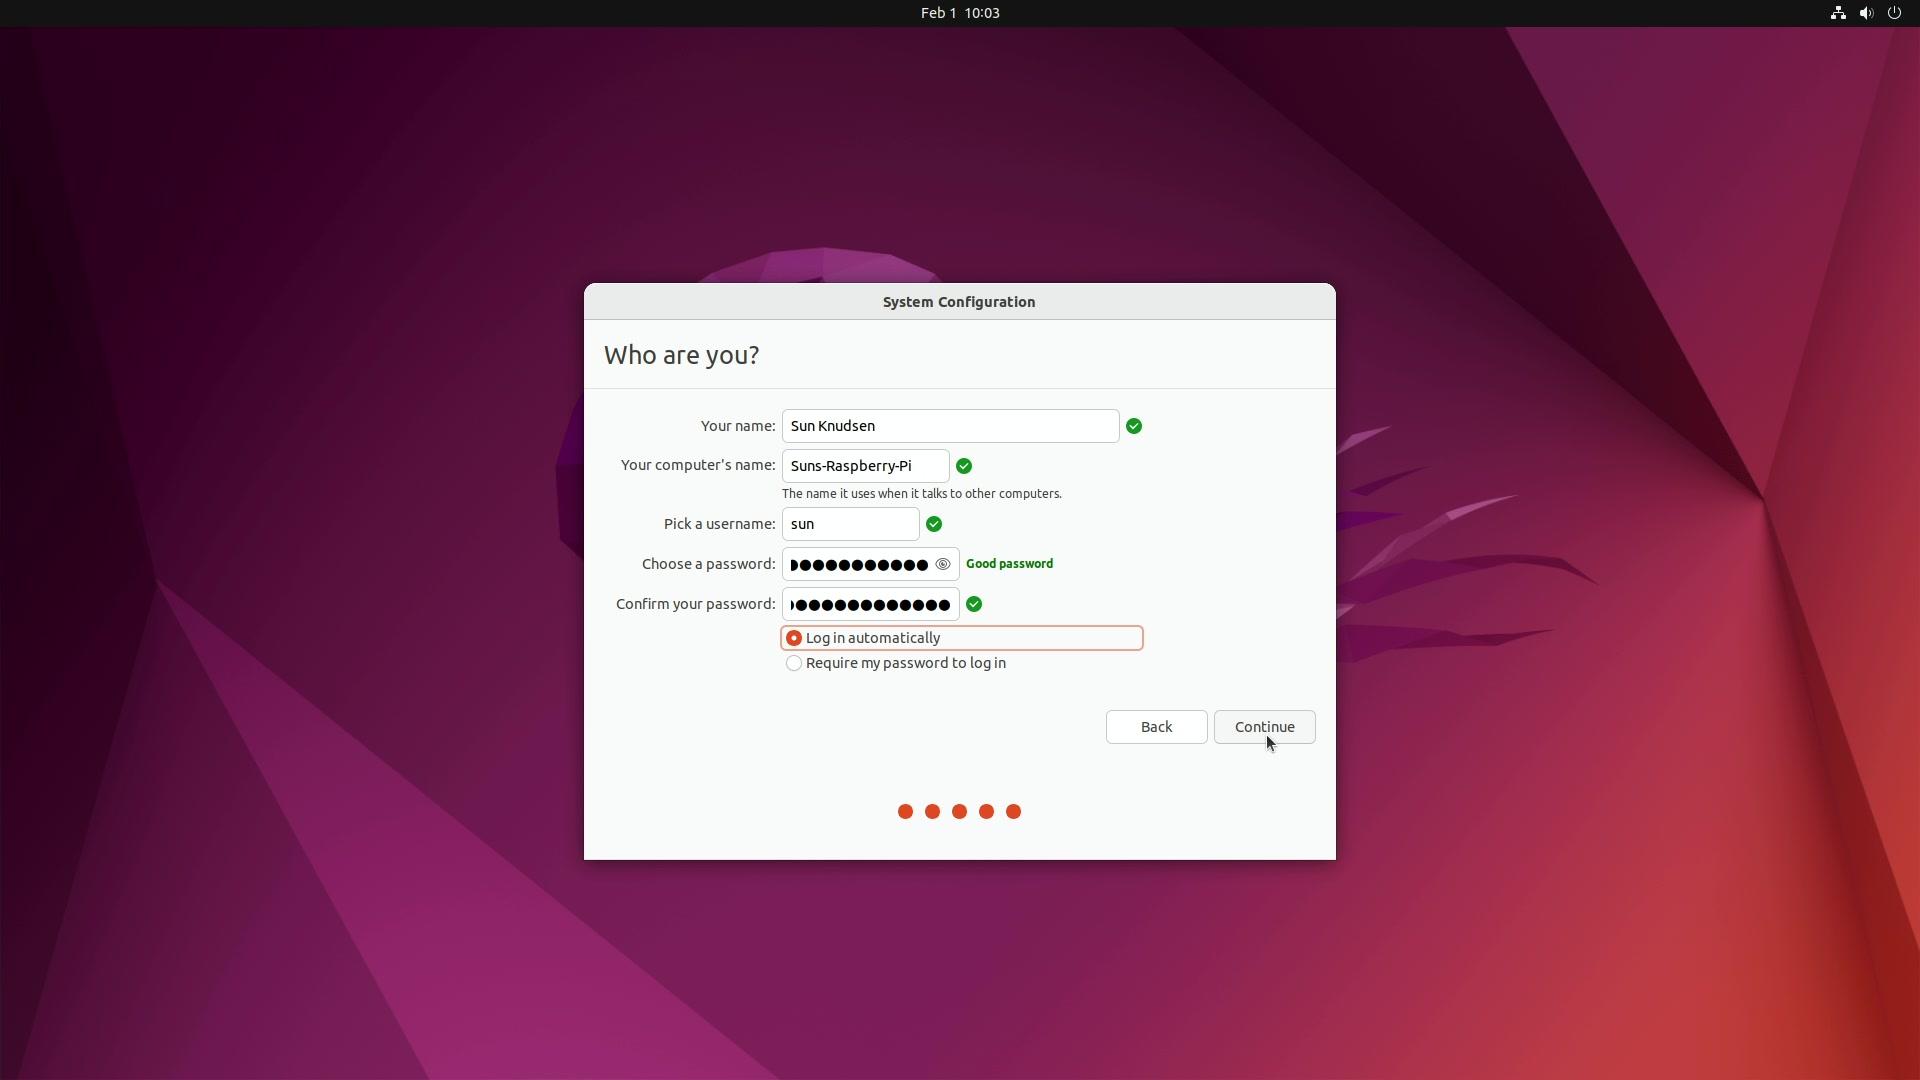
👍
Configuration guide
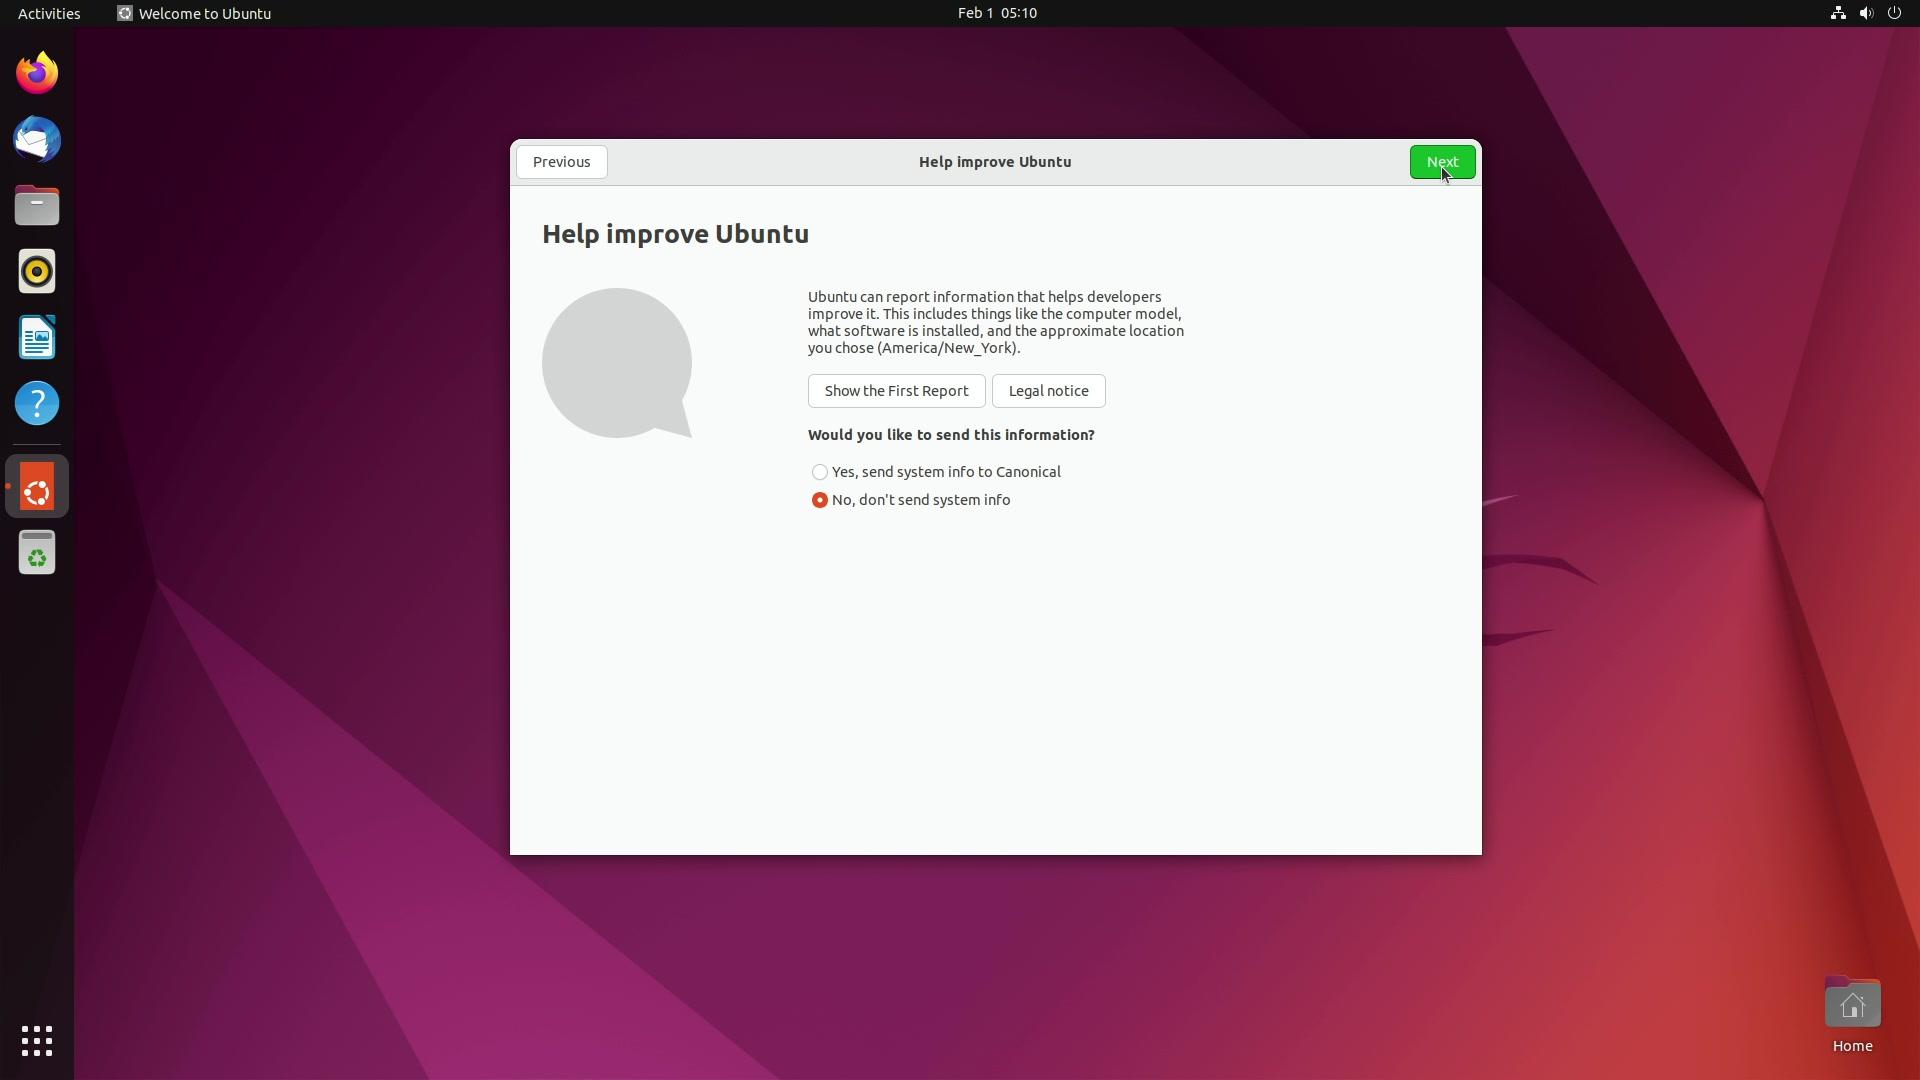
Step 1: disable telemetry
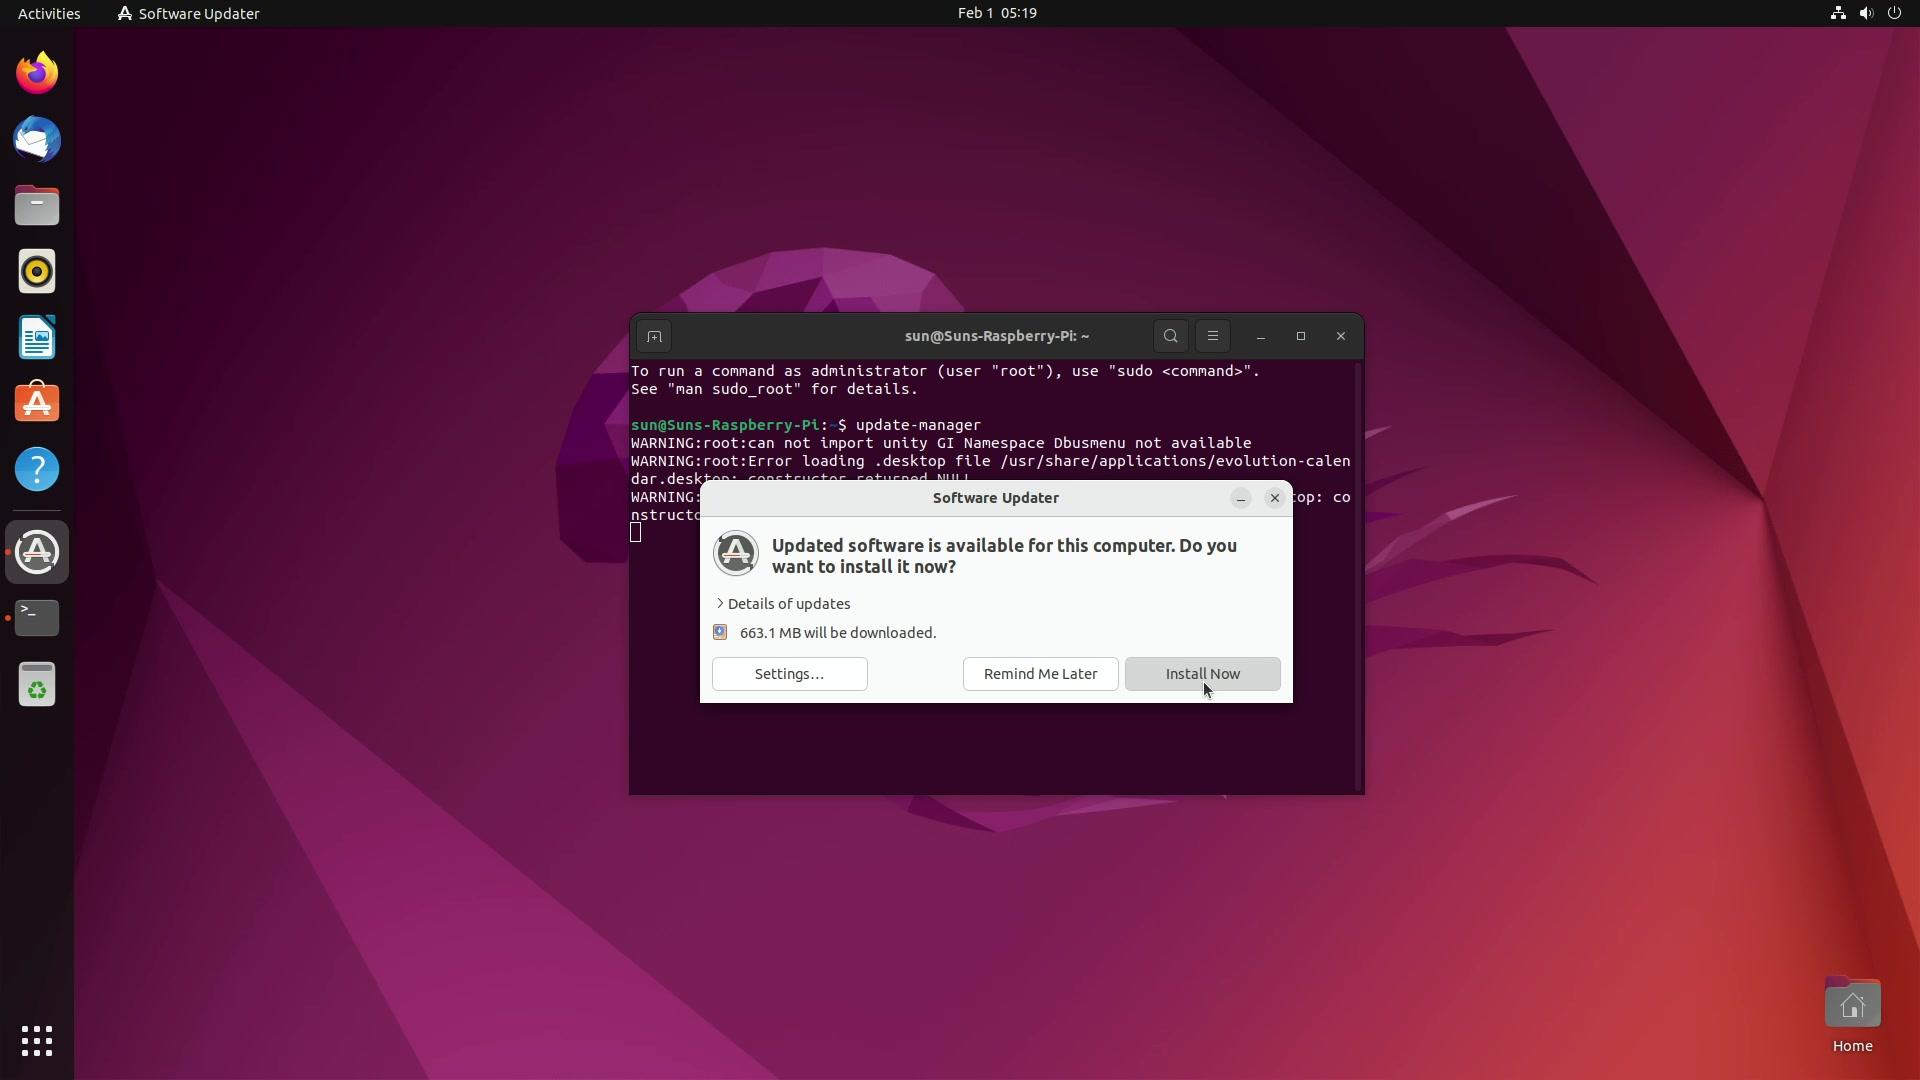
Step 2: run update-manager and click “Install Now”
Step 3: reboot
Step 4 (optional): center new windows
Step 5 (optional): enable dark mode
Step 6: disable auto-mount
Step 7: add universe APT repository
Step 8: install curl, libfuse2, overlayroot, zbar-tools and zlib1g-dev
Step 9 (if applicable): download Superbacked and allow executing superbacked.AppImage as program
Download Superbacked
Heads-up: replace
ABCDEFGHwith your license code.
Heads-up: for additional security, verify Superbacked download.
Allow executing superbacked.AppImage as program
Right-click “superbacked.AppImage”, click “Properties”, click “Permissions” and, finally, select “Allow executing file as program”.

Step 10: disable Bluetooth and Wi-Fi
Step 11: set ext4 and vfat filesystems to read-only
Step 12: disable fsck.repair
Step 13: set overlayroot to tmpfs
Step 14: clear Bash history
Step 15: reboot
Heads-up: filesystem will be mounted as read-only following reboot.
Step 16: shutdown
Heads-up: filesystem is ready for optional hardware read-only hardening.
Step 17 (optional): enable datAshur PRO² global read-only (see product documentation for instructions)
👍